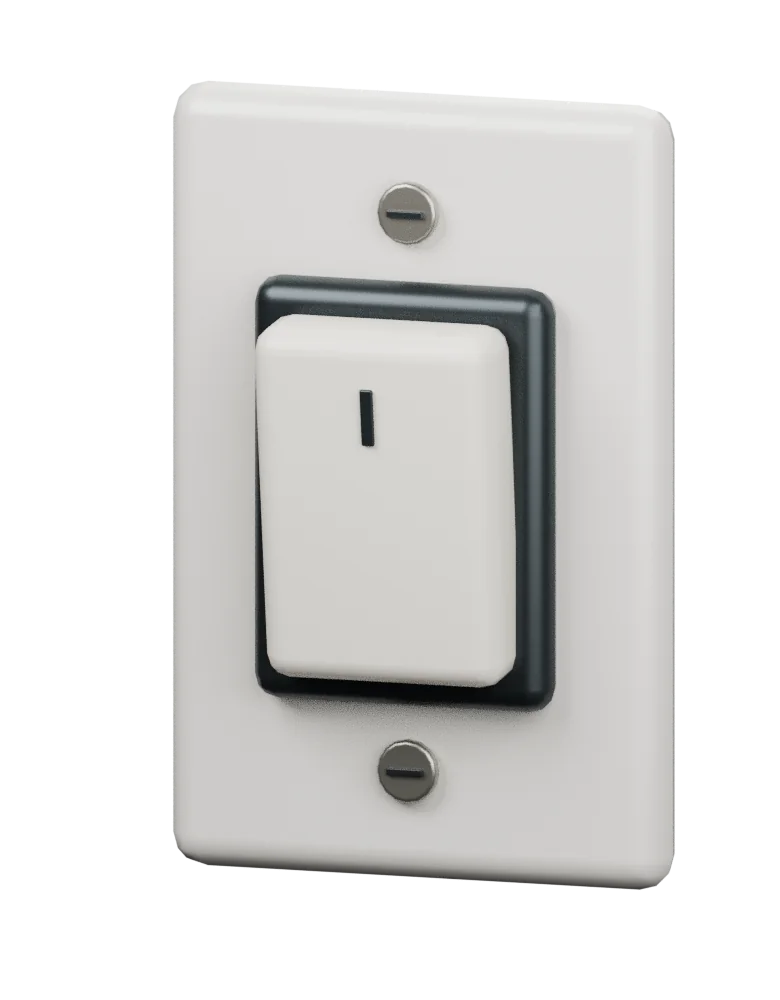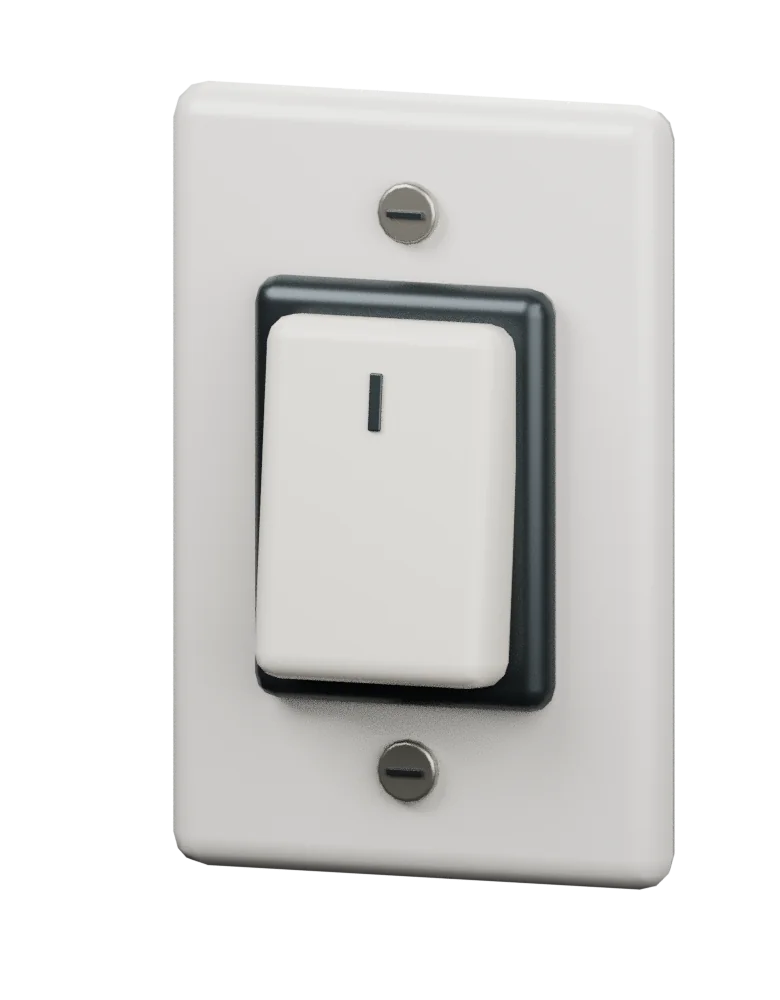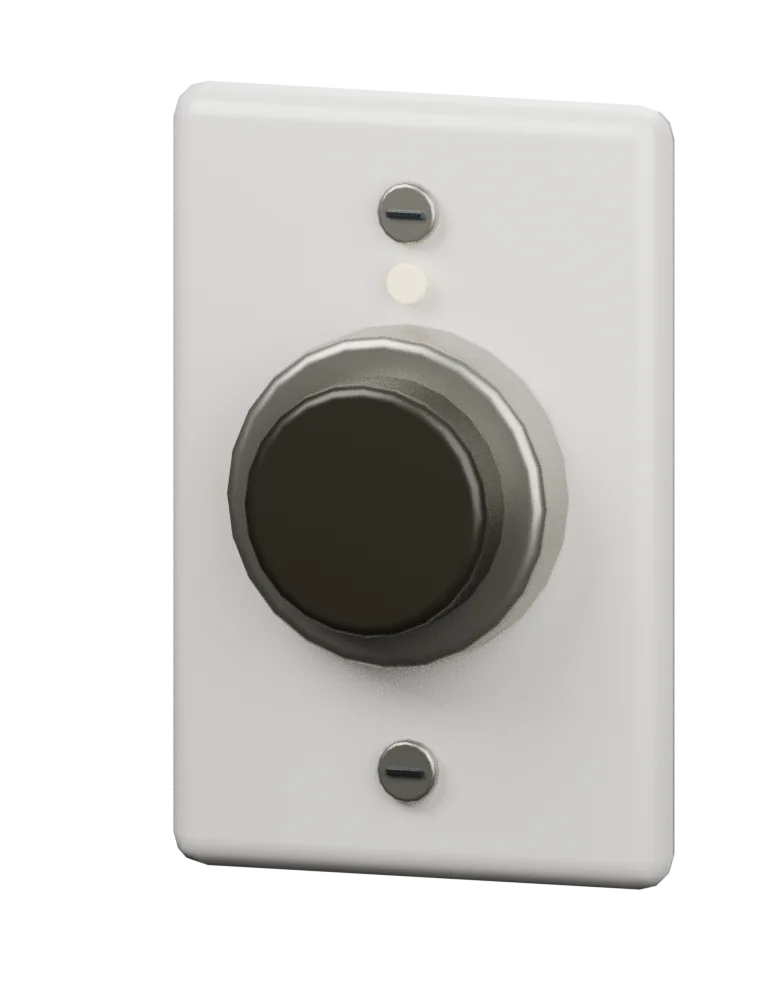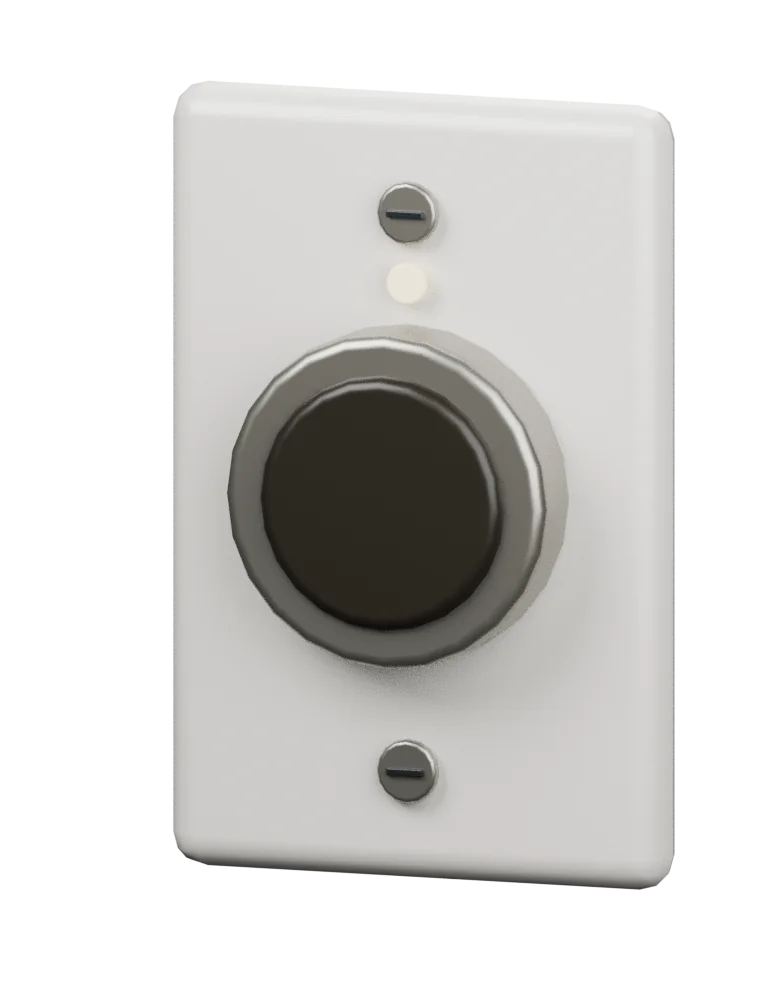
Link your own button
Connect your own button or switch to a saved door, lamp or moving prop.
Link the button
- Apply the target mechanism and keep it loaded.
- Select a separate anchored Part or Model for the button.
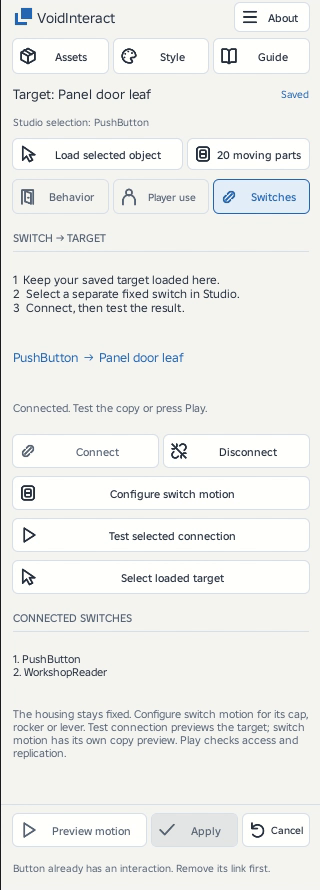
- Open Switches. Check the loaded mechanism and Studio selection, then use Connect.
- Start Play and activate the button prompt.
Linking is unavailable while a mechanism change is pending. Finish or cancel that change first.
Identity and copying
You can rename or move a linked object without breaking its connection. Copy a mechanism together with its direct prompt to keep them together. If you copy a separate button, it still controls the original mechanism. Use Disconnect, then Connect to choose a different target.
Remove a link
Select the button and use Switches > Disconnect. Removing the mechanism behavior removes its owned direct and linked prompts while preserving geometry. Undo restores the configuration and links.
Read the target before activating
Check the highlighted mechanism and the action shown before activating. Object names are hidden by default. Enable them in Place prompt appearance & input when helpful. Direct and linked controls share the same mechanism state. Test nearby buttons from normal standing positions and place their anchors so the intended target is clear.
Animate the switch itself
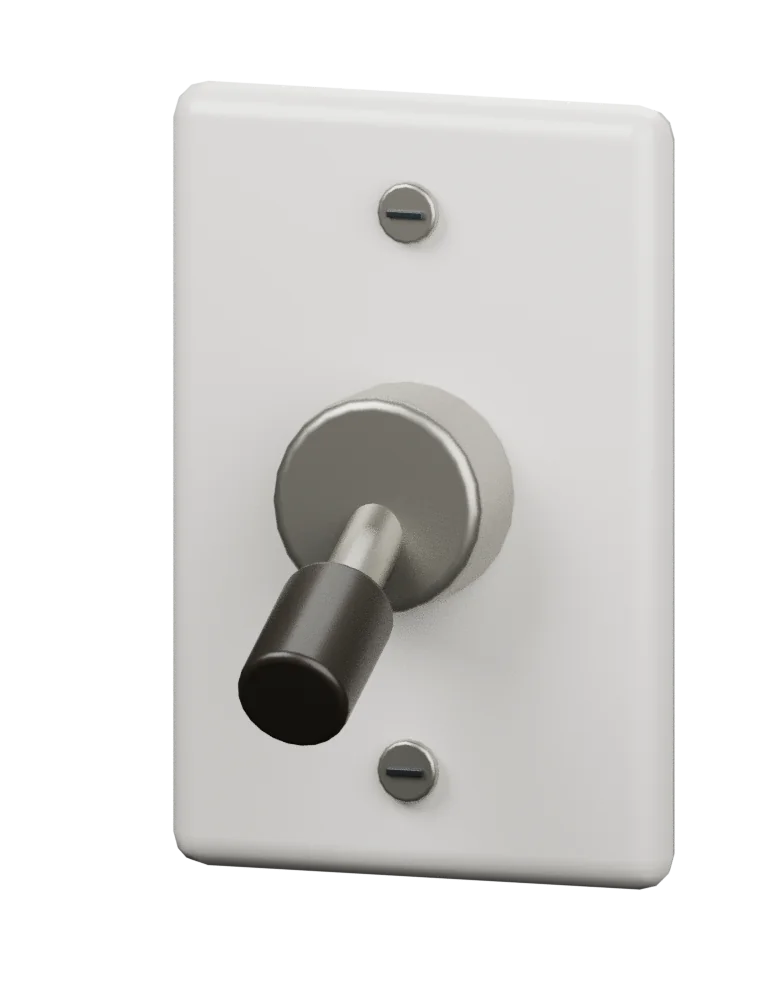
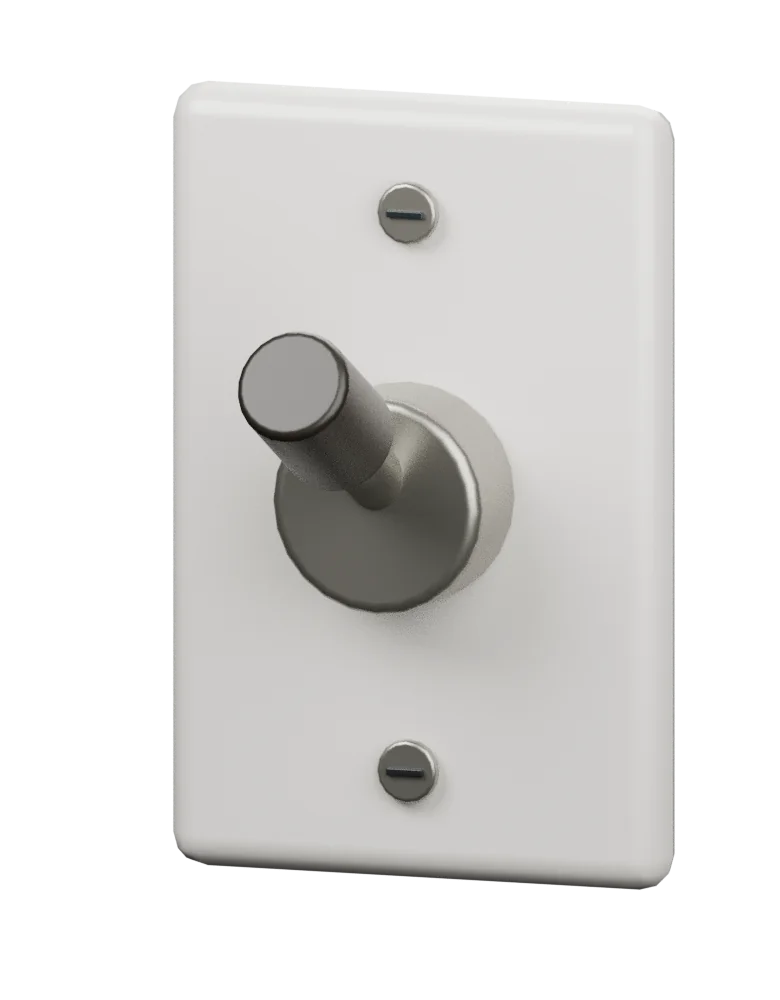
- Keep the saved device loaded. In Studio select the whole switch Model, then choose Switches > Configure switch motion.
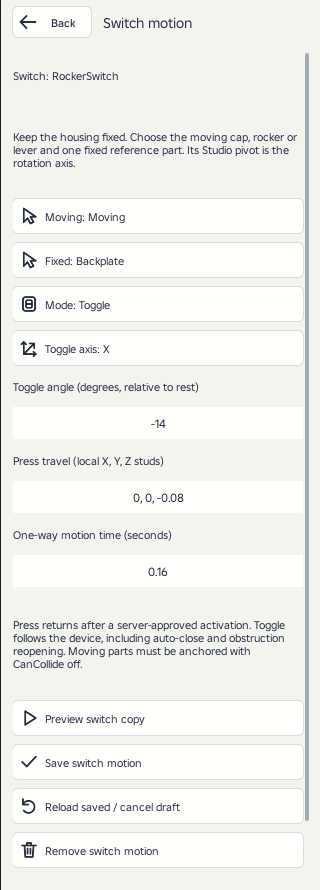
- Select only the moving cap, rocker or lever and click Moving. Select an anchored housing part and click Fixed. A fixed reference must be outside the moving group.
- Anchor the moving parts, disable CanCollide, and remove scripts and joints. Keep the fixed surround out of the moving group. A control supports up to 32 moving parts.
- Set the moving group's Studio pivot at its physical axle. Choose Press for a returning button or Toggle for a stateful rocker or lever. Set local travel or axis and angle, and the one-way duration.
- Use Preview switch copy. A separate copy appears beside the original. Save becomes valid only after the unchanged draft has completed that preview.
- Save switch motion and Connect the switch to the device. Use Play to check both the actuator and its target.
A saved connection and a saved actuator are separate: disconnecting the target keeps geometry and actuator settings. Remove switch motion deletes only its configuration. Use Studio Undo or Redo to restore a change.
State and rejection behavior
Press moves the activated button and returns it to rest. A denied or unavailable interaction does not animate it. Toggle follows the device state, including changes made by another linked control or an automatic timer. A toggle shows whether the device is set to open or close, rather than how far a door has moved.
Keep the moving parts, fixed reference and switch configuration together when copying a switch. Test both allowed and denied access, then check that using another linked control updates the switch as expected.
Asset image gallery
Model previews showing the parts and details.