
Connect a switch to a lamp
Control existing Light descendants with the same saved interaction workflow.
Use the switch under the lamp
For a wall lamp with a separate switch, turn off Player use → On this object, then link the switch. The workshop example uses this setup: only the RockerSwitch activates the lamp. Direct lamp activation remains optional for other designs.
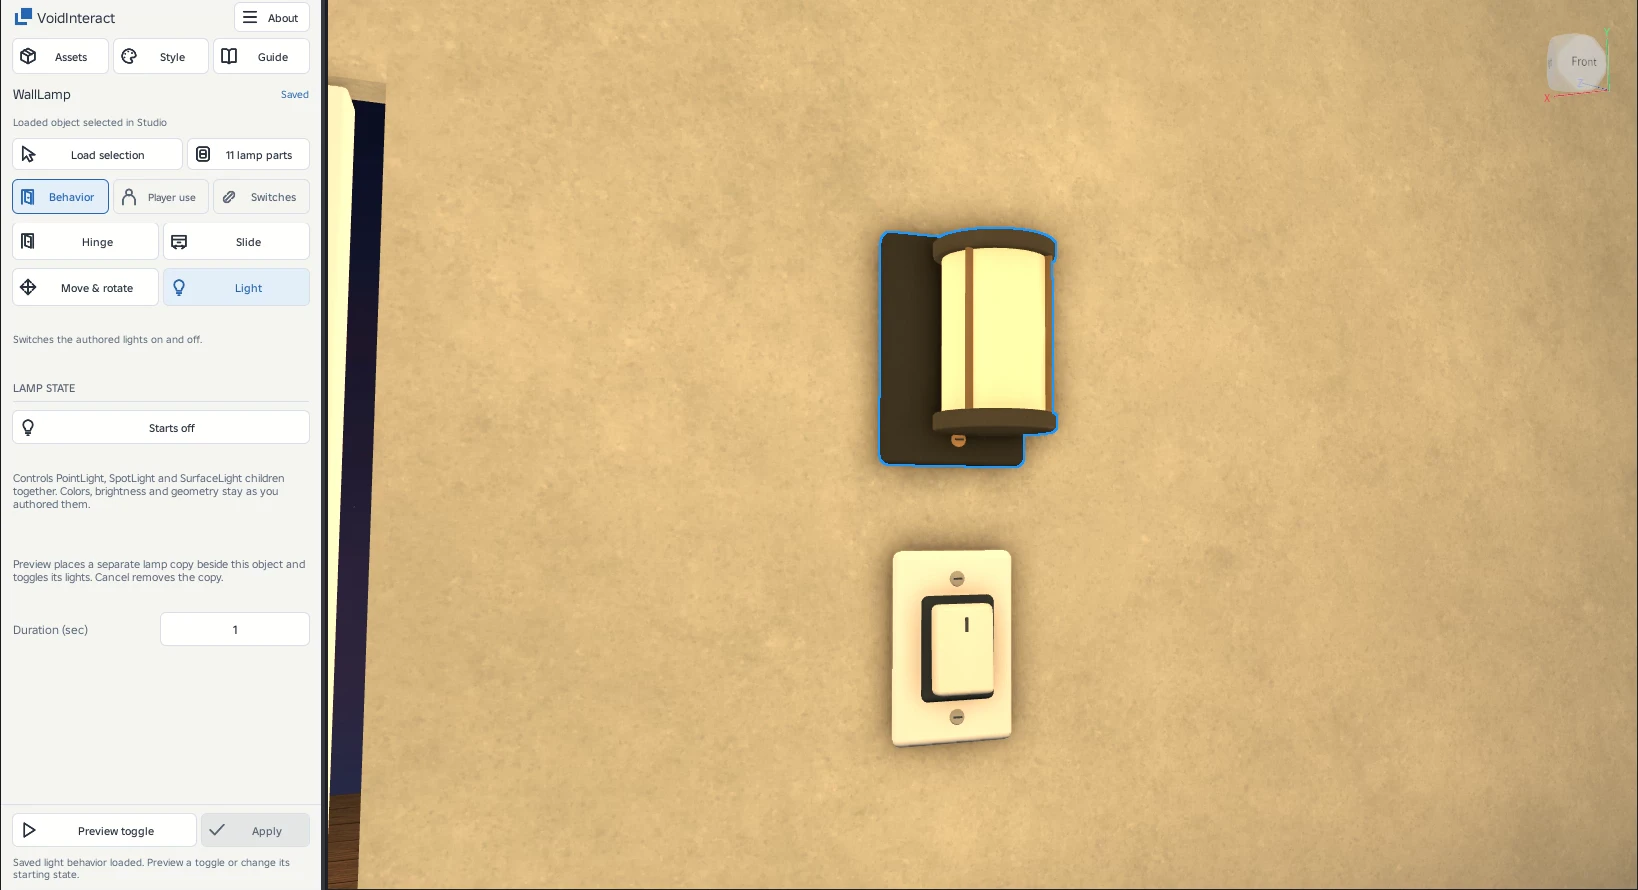
Choose the light assembly
Select the lamp Model, load it and choose Behavior → Light. The assembly must contain a supported Roblox Light. The lamp stays in place. The saved behavior changes its light state.
Set its starting state
Choose Start On or Start Off. Set the optional auto-off delay, then Preview. Inspect the separate copy and Apply when satisfied. The timer switches an active light off, including a light that starts on.
Link and test
Keep the saved lamp loaded. Select the separate rocker or button, open Switches and connect the selection. Test link previews the relationship. It does not prove player access. In Play, approach the control, activate it and check the light and auto-off. A key or card requirement is still checked by the server.